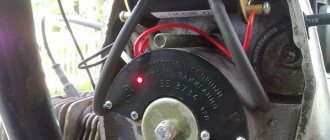
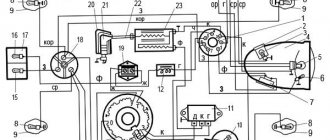
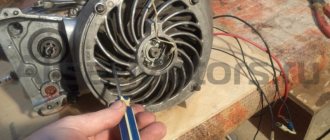
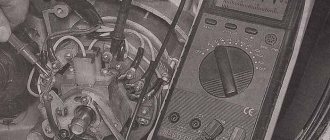
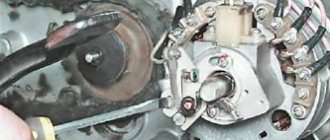
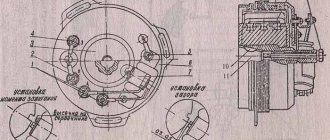
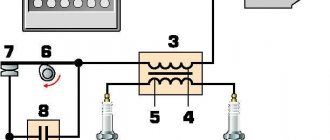
For all Izhovods, there comes a time when their dear and beloved Izh breaks down. And we fix it and fix it. Not very experienced Izhovods may not know how to adjust the carburetor, change clutch discs, change the piston, or adjust the ignition. In this article we will look at how to properly configure the ignition on an Izh Jupiter. If you have a fault with the ignition, they say it has gone wrong, the engine is not running well, the muffler or carburetor is shooting. It’s not a fact that it’s the ignition, it’s possible that it’s spark plugs, low-quality gasoline, or high-voltage wires, a high-voltage cap or bobbin. First, make sure that all of the above reasons are working properly and only then start adjusting the ignition. You need to start adjusting the ignition from the right cylinder, because The contacts of the right cylinder are located on the large breaker platform. Therefore, it will not be possible to set from the left cylinder. First, you need to set the gap on the breaker cams to 0.4 - 0.6 mm, use a feeler gauge for this. By turning the crankshaft by the armature bolt on the upper breaker (of the right cylinder, since it is located on the larger area of the breaker 6, as shown in the figure), set the maximum opening of the contacts, loosen the bolt 5 and use the eccentric 4 to set the correct gap. After this, fix this gap by tightening bolt 5. In the same way, set the gap on the lower breaker (left cylinder). It is convenient to do all this by first unscrewing the spark plugs from both cylinders. Start setting the ignition timing of the right cylinder by screwing in the indicator that is included in the tool kit instead of a spark plug, or for very precise people you can do it by eye, which thread is used to catch the top dead center (TDC) with a screwdriver. Set the tick marks on the indicator so that the arrow at TDC is at zero. Lower the piston to an interval of 2.4-2.6 mm below top dead center by turning the crankshaft armature bolt counterclockwise. Unscrew screws 2, 3, 7, 8, hook up a 12 volt light bulb, one to ground, the other to the wire that goes to the cam, turn on the ignition, start setting the contact opening by turning the base 6. When the cams open, the light bulb will start to light. You need to catch this moment very precisely. And tighten bolts 2 and 7 to fix this set advance. Set the ignition timing of the second cylinder in the same way, only now turn the base plate 1. Try to set the ignition timing equally on both cylinders. Good luck setting up
Rating
( 1 rating, average 5 out of 5 )
Did you like the article? Share with friends:
You may also be interested
