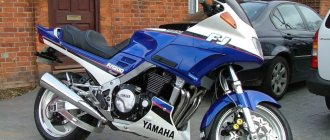
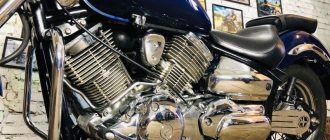
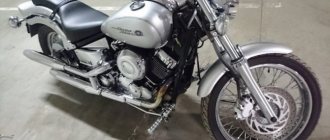
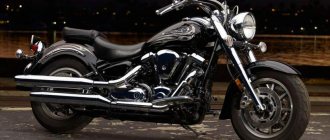
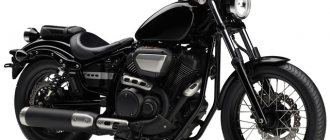
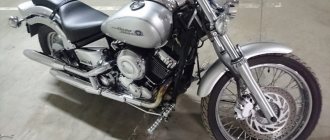
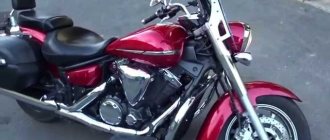
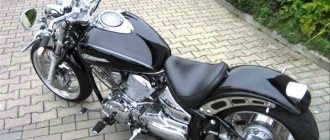
Did you think it was gone? But no! Winter has passed and a lot has been done to the motorcycle.
So it was disassembled, the wiring was tidied up and repainted cherry candy. Of course it’s not ideal, but for his age everything is in perfect order. Even the aluminum is polished, but not mirror-like.
But that’s not the point, although I’ll throw in a couple of photos.
In the end it turned out like this.
Then they added the arcs, which they made from 2 heated towel rails bought at a flea market for the price of 4 bottles.
First we made them straight, tied them to the frame and then narrowed them.
It’s clear that it’s a bit too collective farm, but I wouldn’t raise my hand to give 350 evergreens for something like original and ugly-looking arcs that are essentially consumables.
But then things got behind the glass... A week passed and I just despaired. I couldn’t find anything suitable from the universal ones due to the design features of the front end (instruments and headlights). The most affordable from 150 green. I even went and tried on a batwing... well, so-so, because it was huge and cost... $100! For a piece of plastic without fasteners and glass! This is where my pride and Trudovik pride came into play! I decided to do it myself. There is nothing sensible on the Internet. Therefore, I will create a manual! Well, let's calculate the price at the end. We will need: -polyester resin and hardener (take only in bulk, the price is 3 times lower!!!) -fiberglass (like fabric only with random fibers), density 150 (3 square meters) and 250-300 (1 square), Also from wholesalers, 4 times cheaper!!! -painting tape 25mm (1 piece), 40mm (3 pieces), don’t skimp, take a good one! - stationery knife 2 pcs. - cheap scissors (throw away after anyway) - 7 brushes 30mm or 25mm - 8 coffee cups with handle - medical gloves 7 pairs. -face mask 5 pcs. - eye glasses - 2 cutting discs for a grinder 1.5mm - 250mm gasoline galoshes - marker and pencil - smooth laminate backing (2 sheets) - cling film 2 rolls. - a piece of stainless steel 25x25cm 1.5mm at a scrap metal point or store. -polycarbonate monolith in an advertising agency, 3mm thick, the price is just a bargain. -4mm and 8mm drill for metal. -steel ruler 1m
We come to the garage, put the engine exactly. We imagine what we want. We take measurements and, using rough parts, throw the drawing of the parts onto the backing, cut it out, apply it to the bike, trim it and try it on, then glue it together with paint.
Glued? Great! Now we go home and don’t come to the garage for 2 days. During this time, your brain will wean itself from the confusion and when you arrive, you will take a look at your creation. Come here, are you sick? So everything is OK Now we remove everything, glue it up and disassemble it into parts. Afterwards we measure and transfer everything to a new sheet so that everything is even and symmetrical! Now we glue everything together again, try it on and wrap the bike in film. Thoroughly! Afterwards we put our future batwing on the motor and begin to roll it up in tape. Very neat and thorough! Don't repeat my mistake! Be very careful so that the resin does not leak. Ready? We put on gloves and a mask and mix 100g of resin (half a cup), hardener to the fullest, but do not overdo it. It would freeze in about 20-30 minutes. Now coat the outside with a thin layer of tape. Let it harden. Then we cut the fiberglass mat 150. Preferably in large pieces. The photo shows their shape. And we paste the first layer, without smearing the resin, but by soaking it (poking it) with a brush. We stand over the bat and watch for about 30 minutes and squeeze out the air and press down the lagging fibers. Afterwards you can go home; the resin needs to sit overnight to dry out.
We came in the morning, checked, was everything OK? Well then another layer 150. And after an hour (if there is enough hardener) you can remove it from the motorcycle! Film too.
Having removed it, we roll another layer of 150 and then a layer of 300 (or 250), then another layer of 150. 300 is difficult to glue, there are a lot of bubbles, so don’t bend it, just sheets along the planes for thickness.
When the tape is almost invisible through the layers, that’s enough. Usually these are 3 layers of 150, a layer of 300 and 2 more layers of 150. Now we take the grinder, wrap it up (otherwise you will itch) and, putting on the glasses, cut off the excess along the contour of the backing. Then we peel off the backing and lightly sand the inside, then coat it with a layer of resin. That's it, let it dry for a day. Now cleaning the planes. We clean the grinder with a saw blade at the most acute angle, erasing all excess.
Fastened and drilled. Now we look at the symmetry, and mark with a marker what and where to cut or add. Ready! Now glass. We take a sheet of backing 45 cm high (usually up to the eye) and bend it and glue it to the bat from the inside. This is where you need very high quality adhesive tape. It will hold up well up to 160.
We put a stationery knife in our pocket and hit the road. We drive in the range from 90 to 130 mph. Is your helmet loose? We cut off 5cm, move on, is he chatting again? Let's cut some more. Mine turned out to be only 14 cm high and nothing is blowing (be sure to check that the helmet from under the beta does not get loose from the tank, you can throw a jacket over the steering wheel, covering the tank)
We remove it, convert it to polycarbonate (I first switched it to aluminum and it stayed like that for 2 days) and mark the holes for the fasteners. All is ready? Now let's get everything painted. In my case, I have putty everything for now and am now waiting for my turn to paint.
As a result, the entire cost of materials came out to $34, and painting cost $50 with the painter’s materials. This is incomparably cheaper than a universal beta without painting and fastenings!
Well, in terms of time, 4 days of leisurely work with a barbecue and the accompanying fuss around the garage. Smooth roads everyone!
Butwing on a motorcycle
Many motorcycle owners nowadays want to buy a butwing for a motorcycle or chopper, which is not surprising, since a good butwing can make riding a motorcycle much more convenient and comfortable.
What is a butwing and why is it necessary? If you translate the word batwing from English, then the literal translation will sound like the wing of a bat. Speaking in technical terms, a butwing is a fairing that is very popular among many owners of motorcycles and choppers.
There are different types of buttwings, and at different prices, some of them are installed directly at the factory, while others are part of motorcycle tuning and can be installed both by specialists in this field and by motorcycle owners themselves. In addition to these differences, some butwings may also have a number of additional functions that make them even more convenient and practical; there is also such a practice as making butwings to order, which is used by many motorcycle owners, since it is precisely the kind of butwing that can be produced to order will be able to realize all the requirements and wishes of the customer.
Why is a butwing on a motorcycle even necessary and what are they? To answer this question, we advise you to look at the link. It should be noted that the butwing performs several important functions, one of which is to protect drivers from the wind. The butwing protects from the wind much better than regular glass, which is why many experienced motorcycle owners choose the butwing, preferring it to regular glass. In addition to protection from the wind, modern butwings are also an important element of the style of a motorcycle; they can give it a special appearance, emphasize its shape and simply make the motorcycle much more interesting.
This is why so many motorcycle owners choose a butwing, as it not only allows them to protect themselves from the wind, but also complements the style of the motorcycle, which is of great importance for true motorcycle enthusiasts.
The question is how to secure the butwing? It is also very relevant, usually this can be done in a place specialized for this, but the operation itself is not very complicated, so if necessary, you can fix it yourself. If you want to know how to properly attach a butwing to a motorcycle, in this case you can always watch a special video that can be found on the Internet, which describes everything very well and in detail and is very informative.
